

Finishing My Flowers

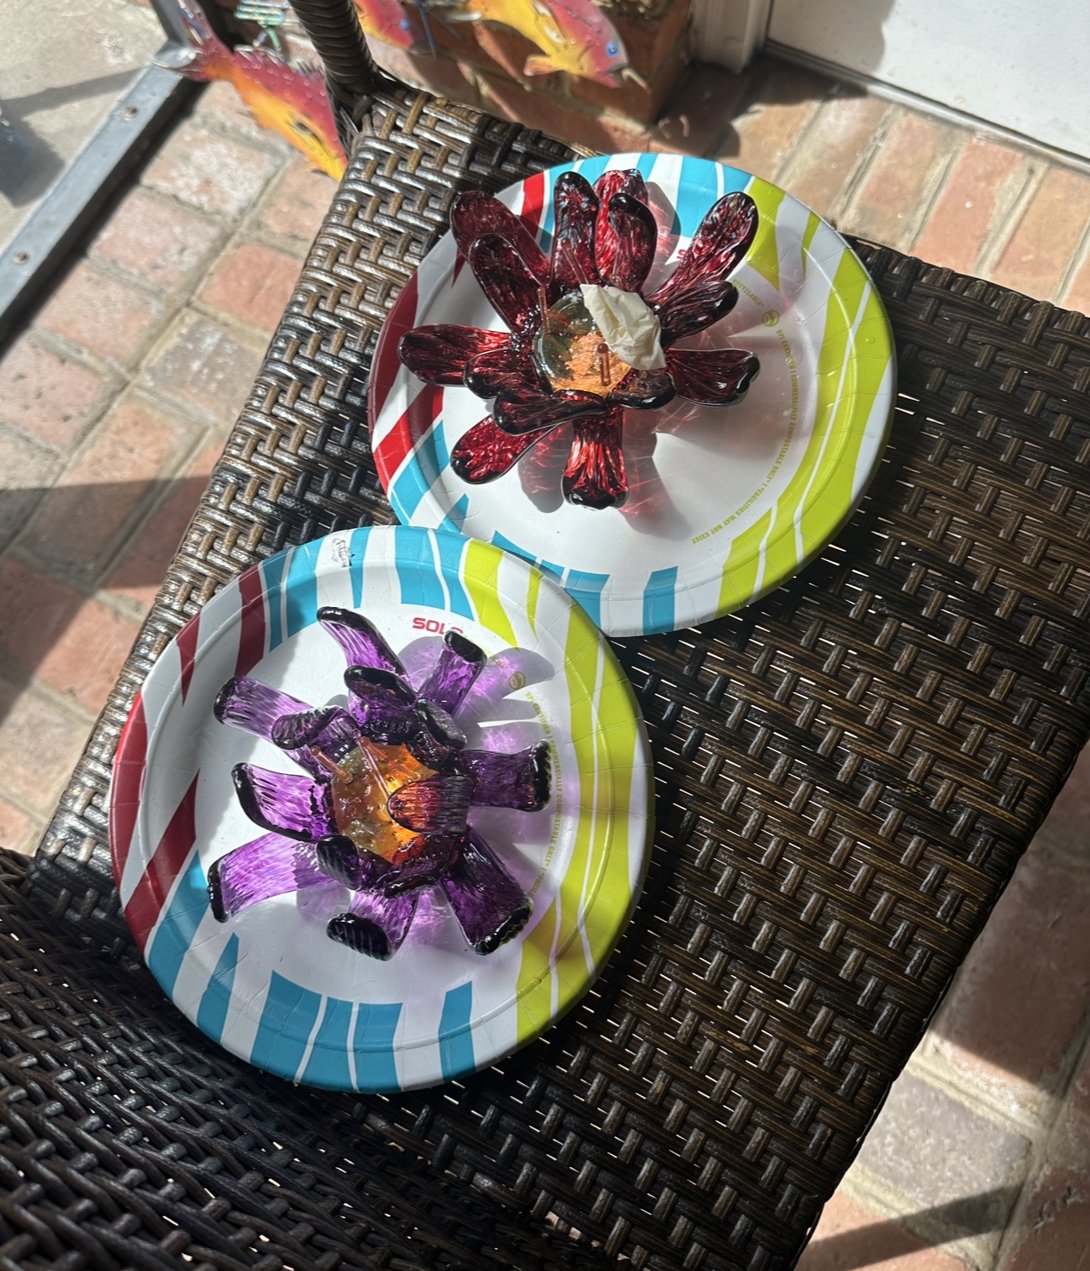
Today, I finished these flowers!
I thought it’d be fun to talk about my process and how I made them, before writing my next road trip blog post, about Pilchuck. I need more time to thoroughly write that post. :)
These flowers gave me some trouble today but also some mindful moments I wanted to share.
I finished most of the flower weeks ago- but I finally got around to making the inner pieces- the little stamen parts. These were tricky because I end up gluing each individual piece.
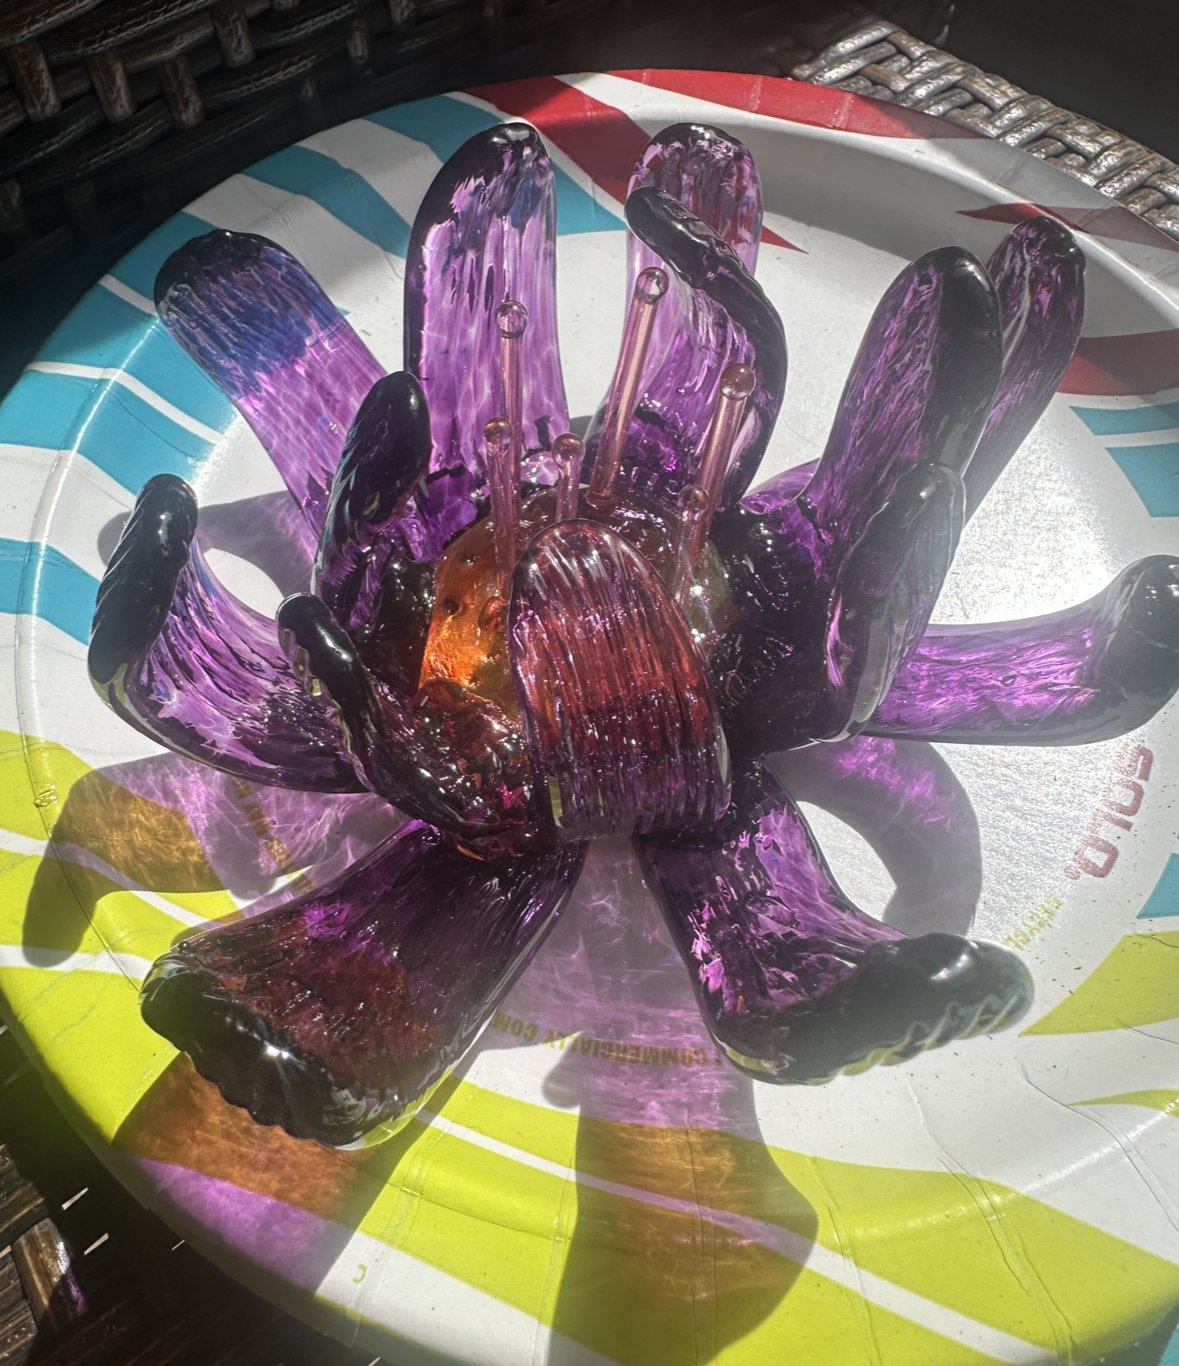
I don’t think these additions are that anatomically correct but I love those little details. I feel they add such a delicate touch.

So to make the actual flower part- I get hot glass- apply and melt my inner color. That makes the orange circle I build the petals off of. To get the petals, I have an assistant get some glass, melt some color in (like the red or purple for the petals) and then they get that hot. Once it’s hot enough- I will take it with a tool and put it on my circle or inner base- I crimp some texture into the bit, then I’ll stretch it to the thinness I want the petal.
I have some process videos on my instagram I will link here and here!
If glass is too thin, when you go to reheat it- it will just fold and fall- but if it gets under 1,000 degrees it cracks- so there is a balance that’s taken me some years to find!
I initially tried to get all the little inside pieces attached while it was hot- but since they were so thin- they easily melted and made a mess on my first flower. Glass is a finicky and tricky process but that’s part of why I love it- the challenges you have to figure out.
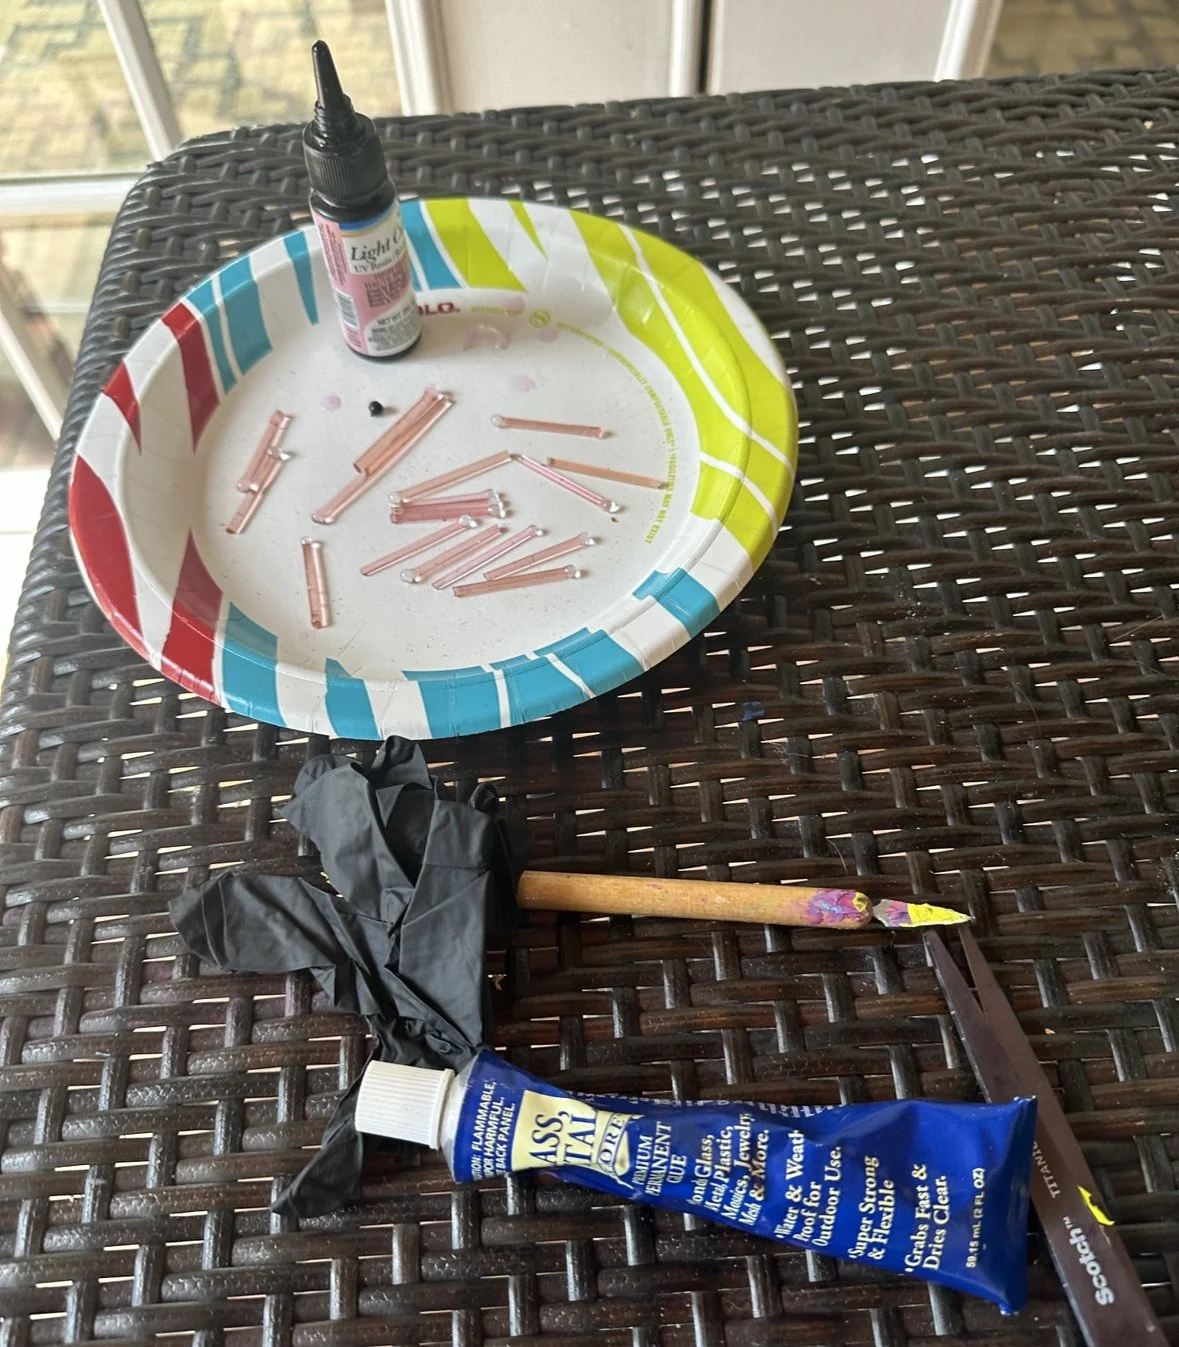
So instead, I figured out to achieve stable inside pieces I should make them and then attach them cold. To make them- I pull a long thin string of colored glass- cut it- melt the ends and continue to turn so it balls up like honey. Then I have all these little almost match sticks I am ready to adhere with a UV resin instead of heat.
And when I made my original flower a few months ago- this process felt so much easier!
Pretty simple solution as to why- because UV resin is activated and strengthened by sunlight and I glued the other flower in July in Miami at my boyfriend’s parents apartment- which was on the 59th floor. I guess the sun was so much stronger at that time and height because the resin would dry instantly from the sunlight in between pours! It set in seconds!
But today, I didn’t have as much luck today on a fall day in Jacksonville. It is still pretty warm honestly, and sunny for that matter- but the resin was taking forever to harden.
I would hold it for 30 seconds and it would fall everytime. Then everything would feel sticky. It was so annoying. It was also one of those days when I felt like I had a million things to do, and I wanted it to work and work fast. I think my art was telling me to slow down.
I could’ve avoided this problem of long wait times with a UV light to instantly cure it, but I don’t have one so I had to work with mother nature. I leave so soon for Aruba too I didn’t feel like making the investment now.
I laughed after a few times of getting frustrated because lotus flowers are supposed to be calming, serene things- and here I was feeling the opposite.
I felt like I had to just surrendered to the process and instead of focusing on the time I was holding each piece and to focus on my breath instead. And then it started to work.
The sunlight would randomly strengthen exactly where I needed it to- moments after I had to remind myself to continue to focus on my breath. It really did feel like I was working with mother nature to finish these pieces.
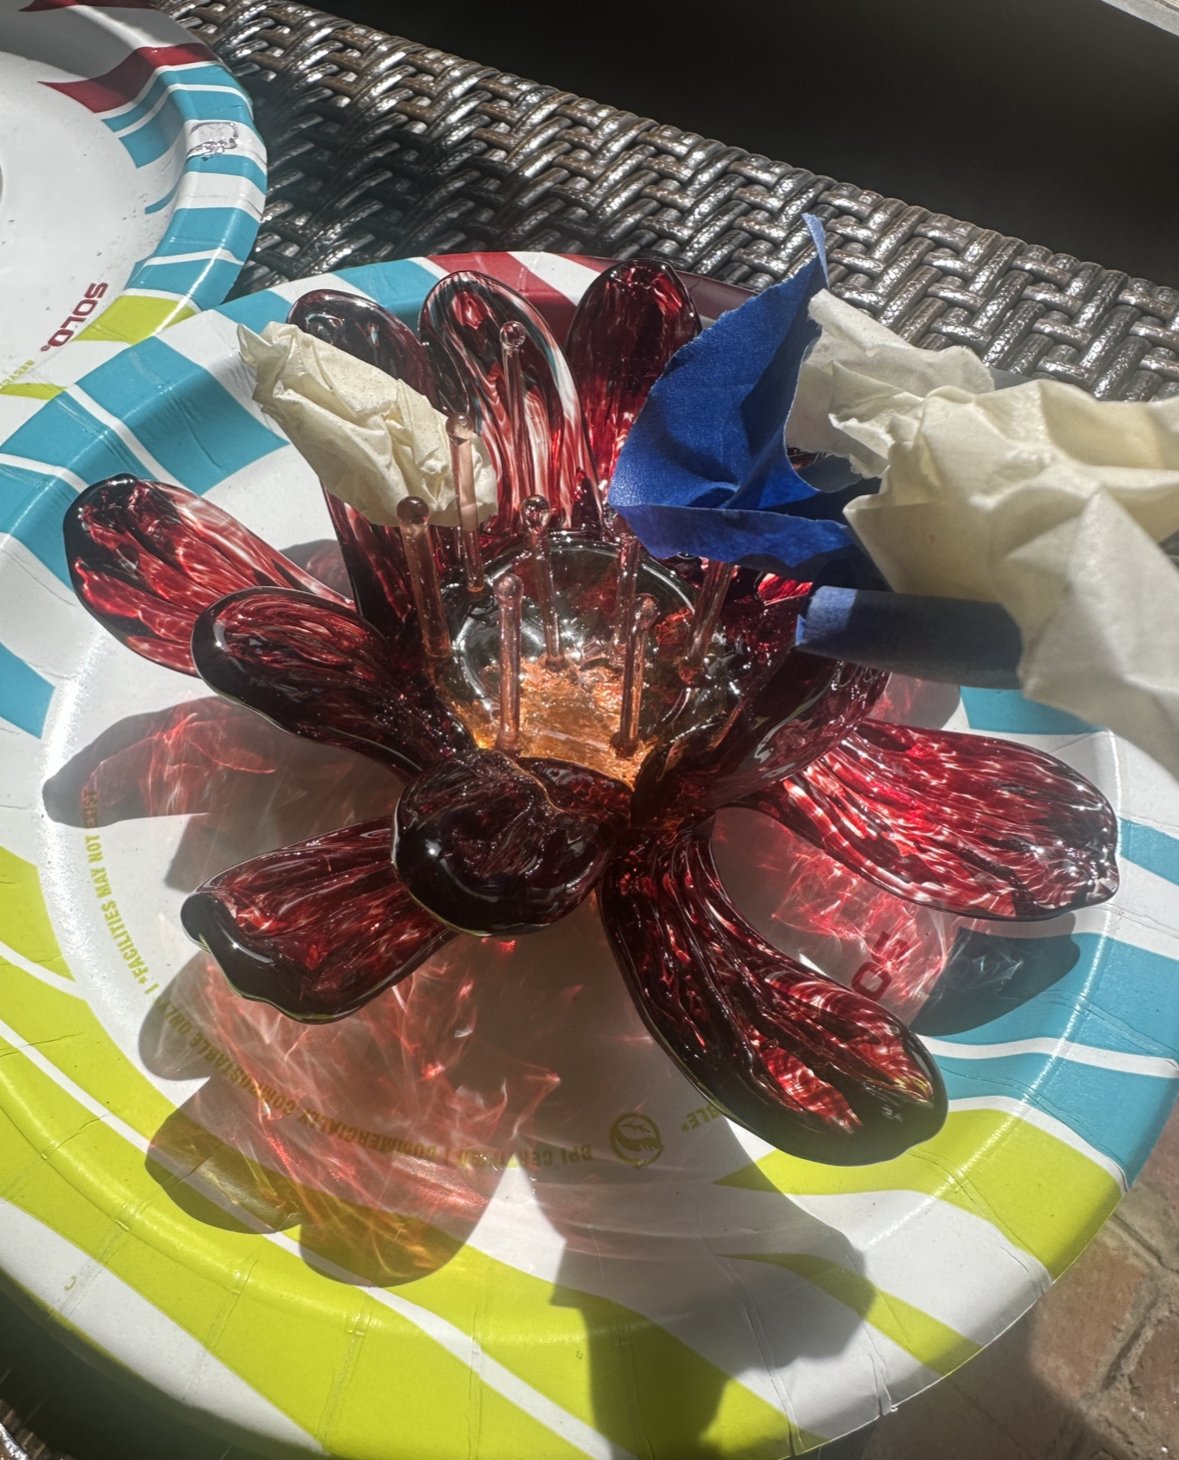
I learned last time I should do all the outer rings first and then fit in the tricky pieces on the inside. It worked much better- sometimes I’d fit in a piece of tape as support and then everything held!
One of these is going to be shipped so I wanted to make sure the connection was strong- for extra support I reinforced each attachment with 2 or 3 more coats of the resin. Then I let them sit in the sunlight all day to strengthen.
I’m happy with how these came out! It was a commission for a friend from college and I said I would make two and have her choose her favorite. She still hasn’t decided but one of them will be available once she chooses.
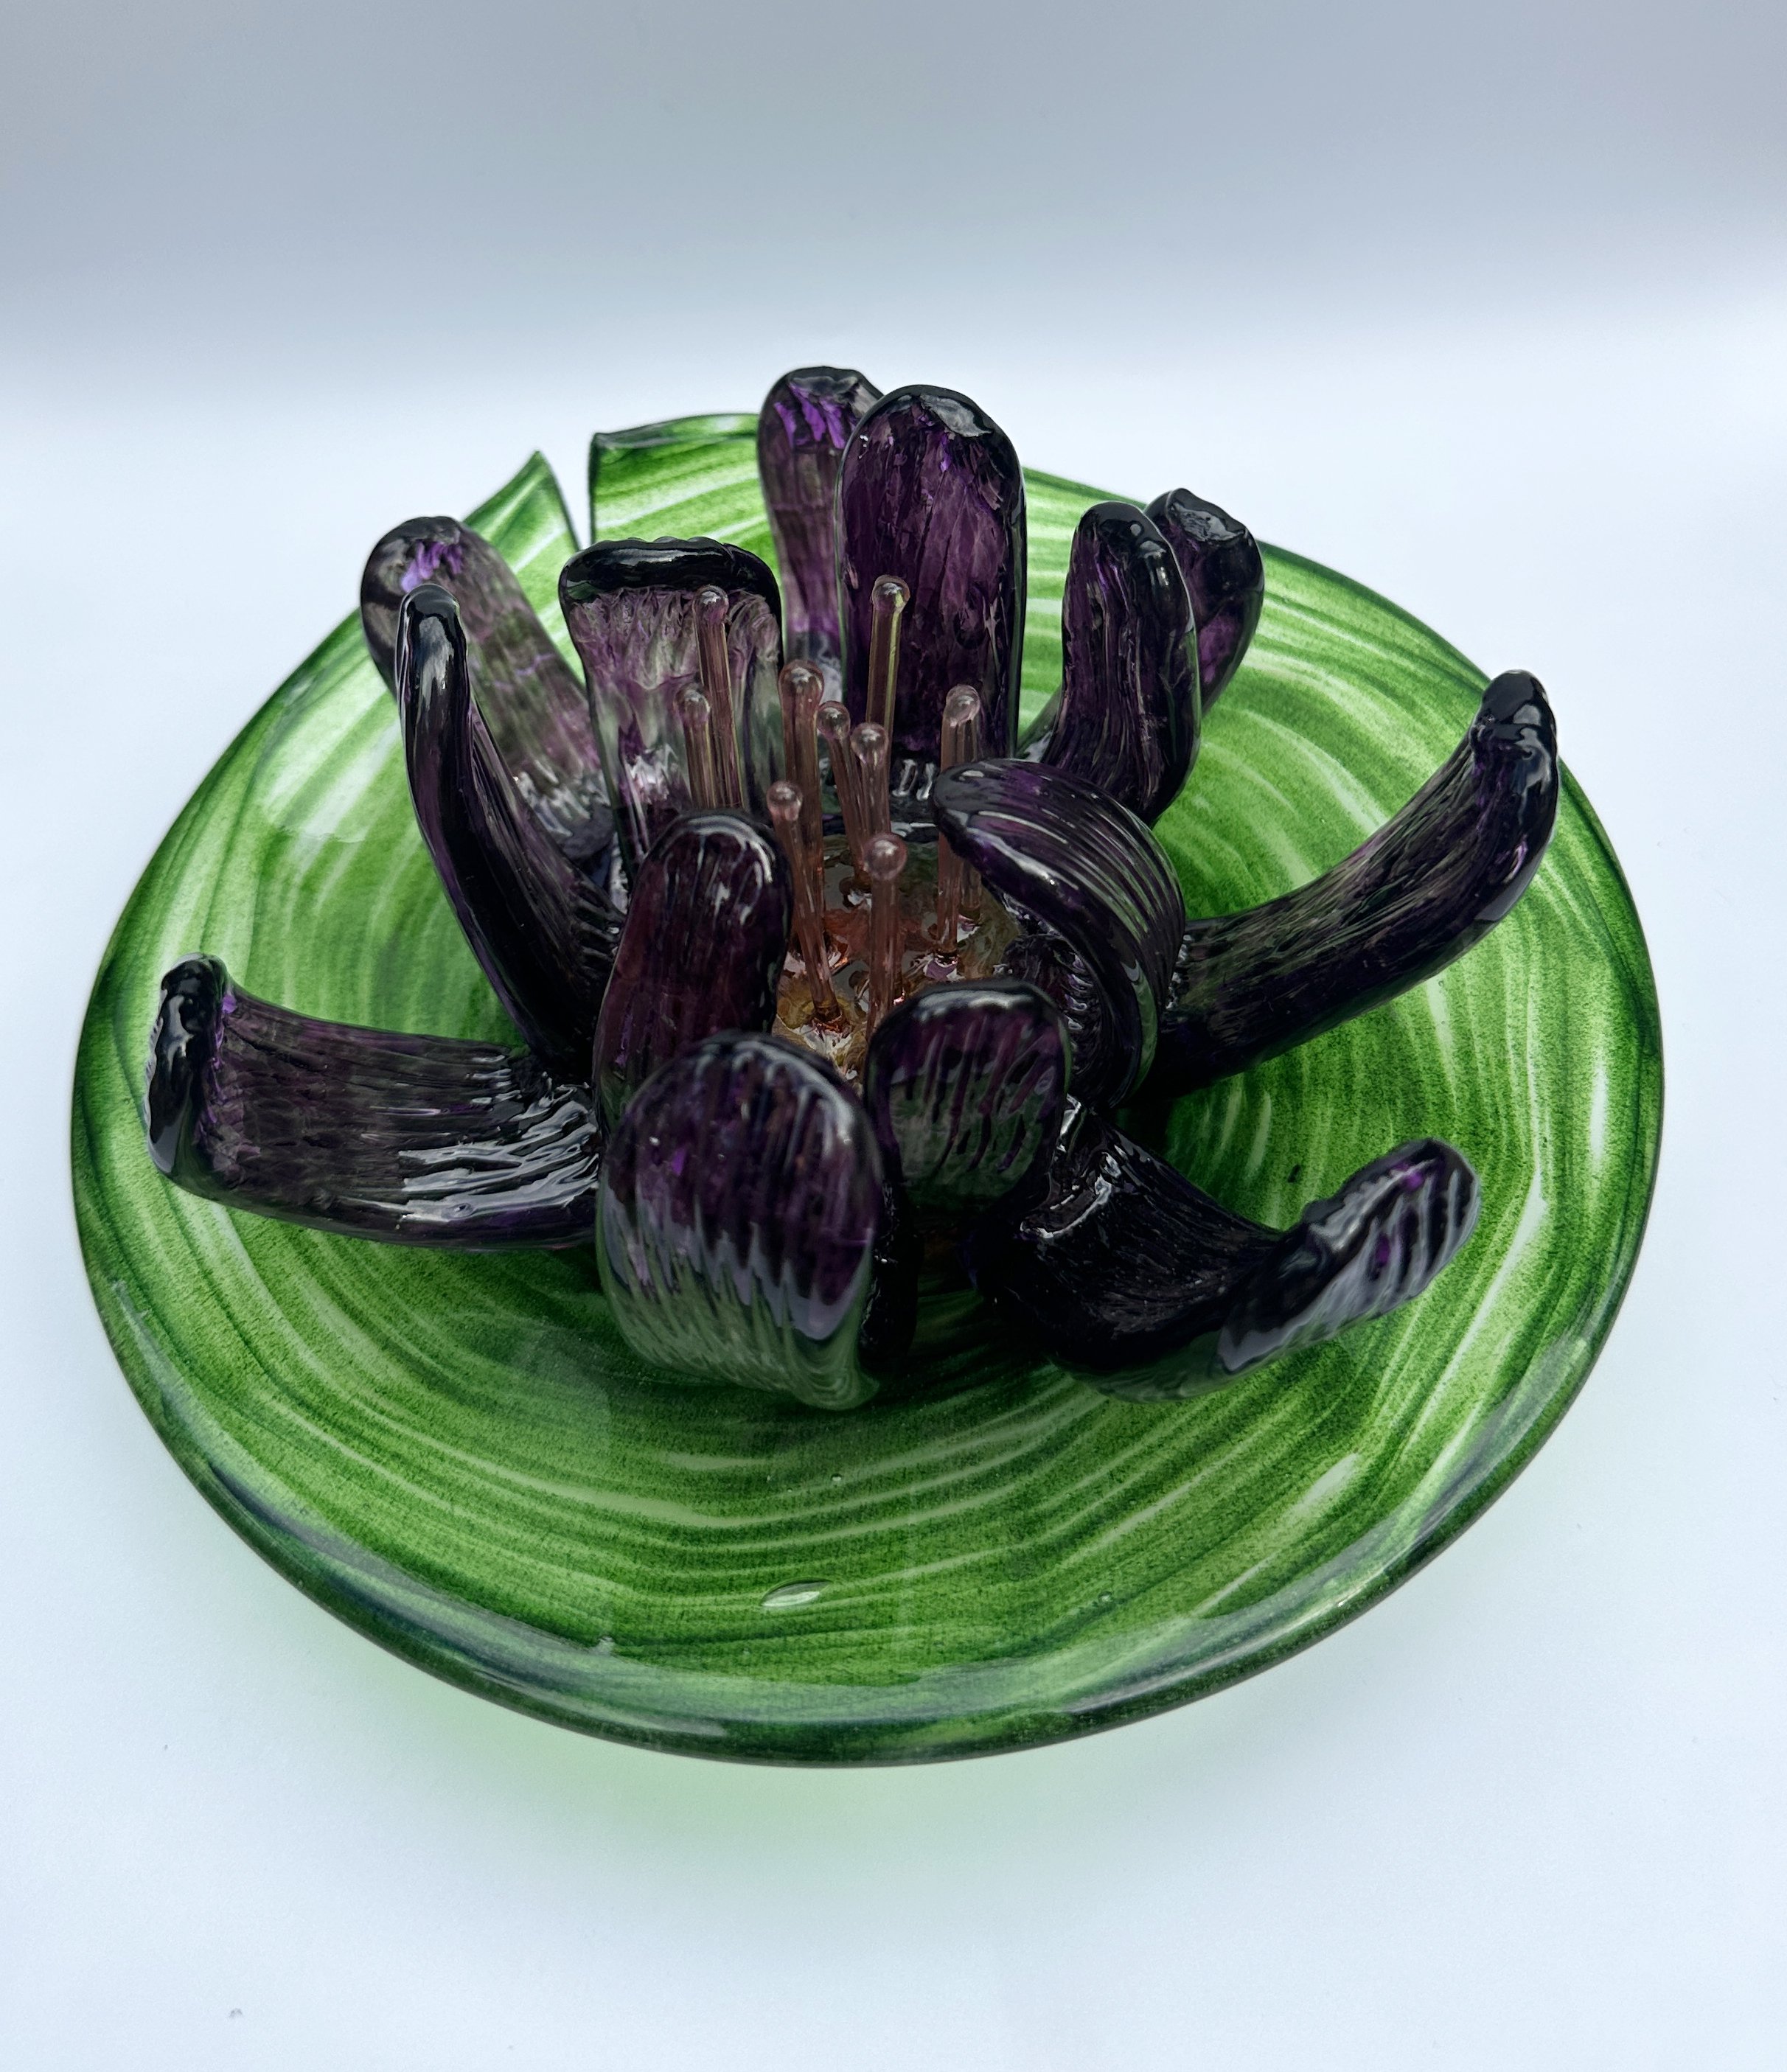
I made some lilly pads to place these on- but I do kinda enjoy them on their own. I feel like some of the flower color gets lost when its on top of a green plate. But some good lighting below or above it would help.
Anyway, thanks for reading about my process! I had a lot of fun making these flowers, I’m sure I will continue to push my color and petal thinness when I have a chance to make more.

Sookie keeping me company while gluing
My dog has loved the porch at my moms house, she can literally sit here all day looking for lizards its so funny.
Next I am working on finishing my jaguar series, a mixed media series since I have some resin, and a few more originals I want to add for sale.
Hopefully I will have a lot to add my shop soon!
Xoxo,
Grace